This article is about the swimming technique of the backstroke and covers the arm stroke movements.
This article is part of our series of articles to learn how to swim the backstroke.

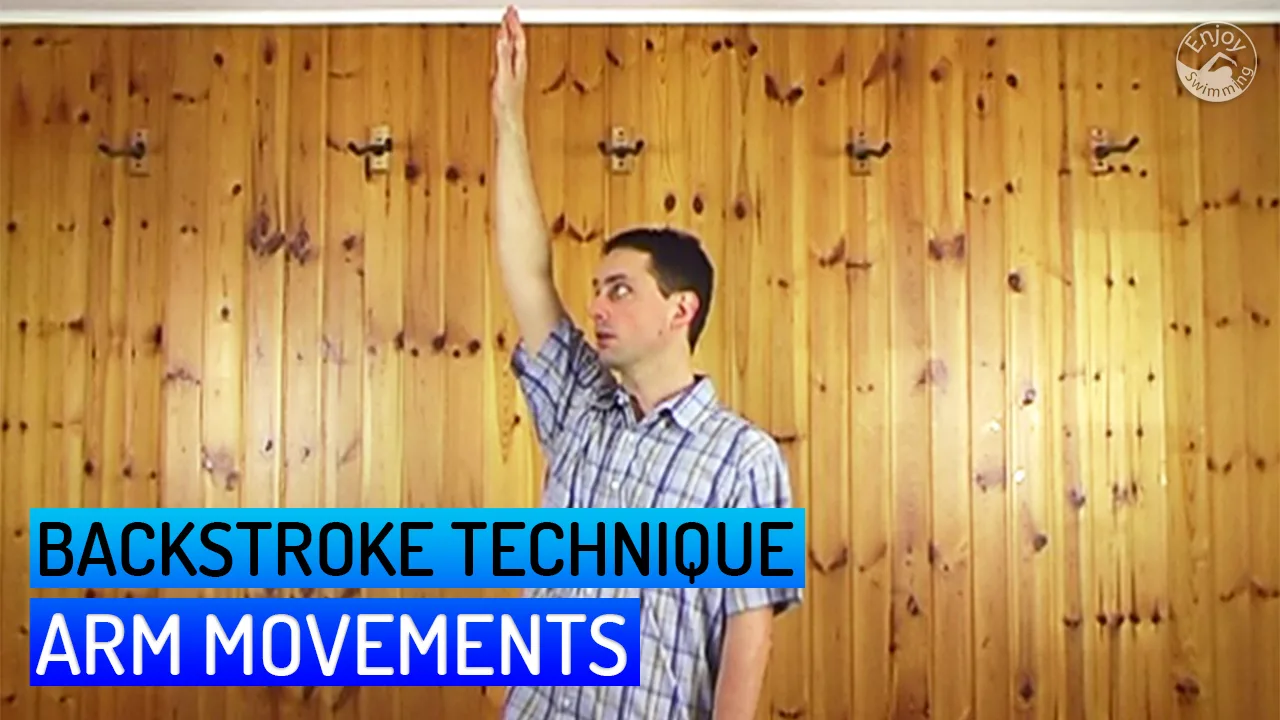
Video Demonstration
Learning the arm movements is easier when you first practice them on dry land, as we illustrates in the video below:
Backstroke Arm Stroke – Instructions
Let’s now go through the arm motions for one arm’s complete backstroke swimming cycle.
Please note that the names of the different swim phases (recovery, downsweep, upsweep, …) are related to the swimmer’s position in the water.
However, the explanations for the movements are related to the standing position used in this article.
Initial Position
Stand straight with both arms at your sides. The palms are turned towards the body.
Recovery
Elevate the right arm in front of you, keeping it extended. When the arm arrives at shoulder level, start to rotate the palm outwards.
At the same time turn the torso towards the elevating arm. Continue to elevate the arm until it arrives in an overhead position.
First Downsweep
Bend the arm at the elbow so that the hand moves out and downward and the elbow moves backward. At the same time, the palm rotates so that it is at an angle of about 45° with the water surface.
In the water, during the downsweep, no force is applied to the arm. It just moves down into the right position to start the propulsive phase.
Catch
The catch is the moment in the backstroke technique when the arm starts to push against the water to provide propulsion. In our example, this happens when the elbow is bent about 90°.
Upsweep
The hand moves in, forward and downward until it is close to the rib cage with the palm parallel to the ground. This is the start of the propulsive phase.
Second Downsweep
The hand continues to move downward, the elbow extends, and the palm turns backward. This is the end of the propulsive phase of the backstroke technique.
Exit and Recovery
The extended arm moves up, the palm turns in, and the hand brushes past the hip to start the recovery as explained above.
Synchronizing Both Arms
Repeat these drill instructions individually with each arm until you have memorized the backstroke arm movements for both arms.
Then try to synchronize both arms: basically, what you need to do is to move one arm downwards while the other arm recovers upwards. Start both motions at the same time.
Conclusion
Once you have mastered both arm motions on dry land, you are a big step closer to learning the backstroke technique. The next backstroke drills will teach you how to swim backstroke in the water.
Learning Path for the Backstroke
Below is an overview of our series of articles on learning the backstroke. Each article in this series contains one or more drills that have to be mastered. The current article is highlighted:
Once you have gone through all the steps of this learning path, you should be able to swim backstroke without any problems.
Good luck!
Tomasz
Sunday 10th of November 2019
Hello Christoph,
Loads of thanks for your preparing this great site and all your efforts you've put into that. I am learning to swim and use it to consult my technique.
Is it possible that you switch of the autoplay of vidoes? When I want to replay you have to be extra vigilant not to miss the 5 secs, before it goes to the next, which you actually do not need since focusing to learn the current one.
Many thanks.
Best,
Tomasz